A guided tour of AfterNight
Scroll through the application the way a night's data goes through it: look at the frames, calibrate, register, integrate, then finish the master in process windows that preview their result. Every picture is a screenshot of AfterNight.
One window for the whole night
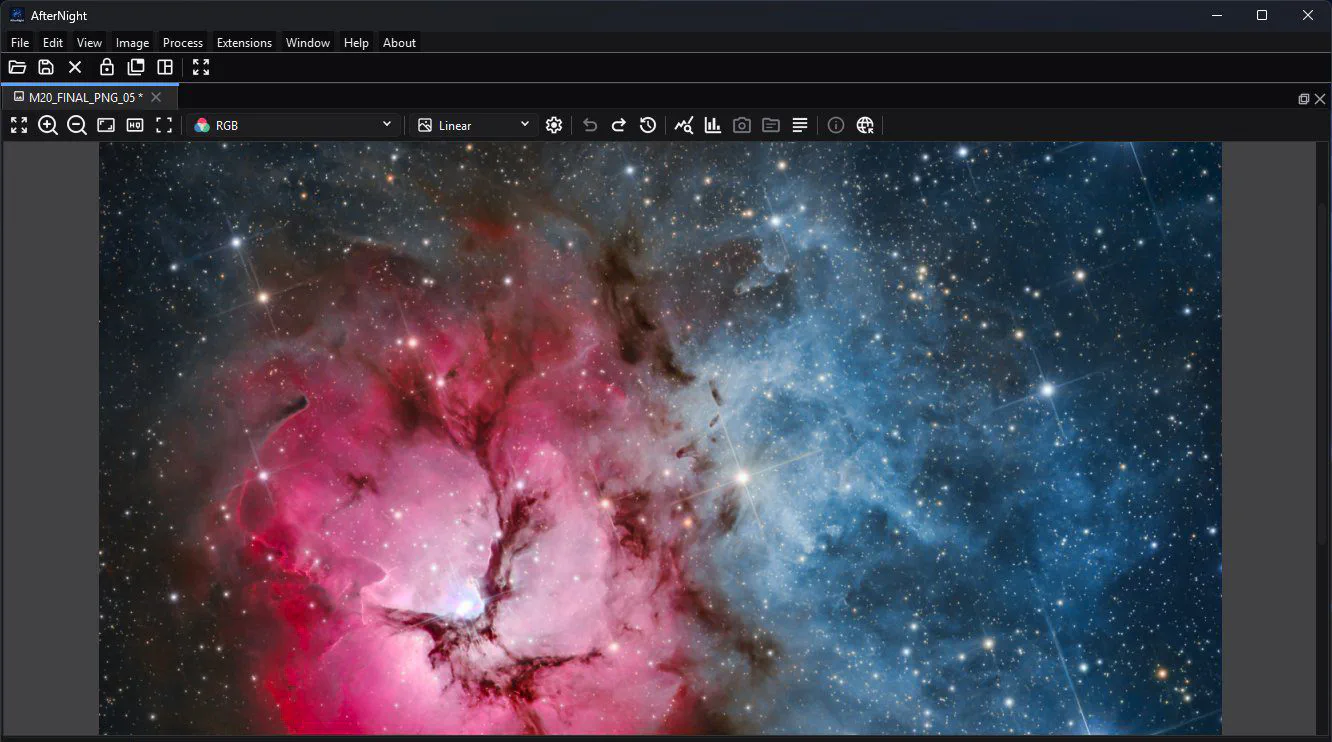
Images open as tabs in one workspace
Every image or sequence opens as a view in the main window. Views can be tabbed, placed side by side, floated in a detached group or maximized one at a time.
Docking panels →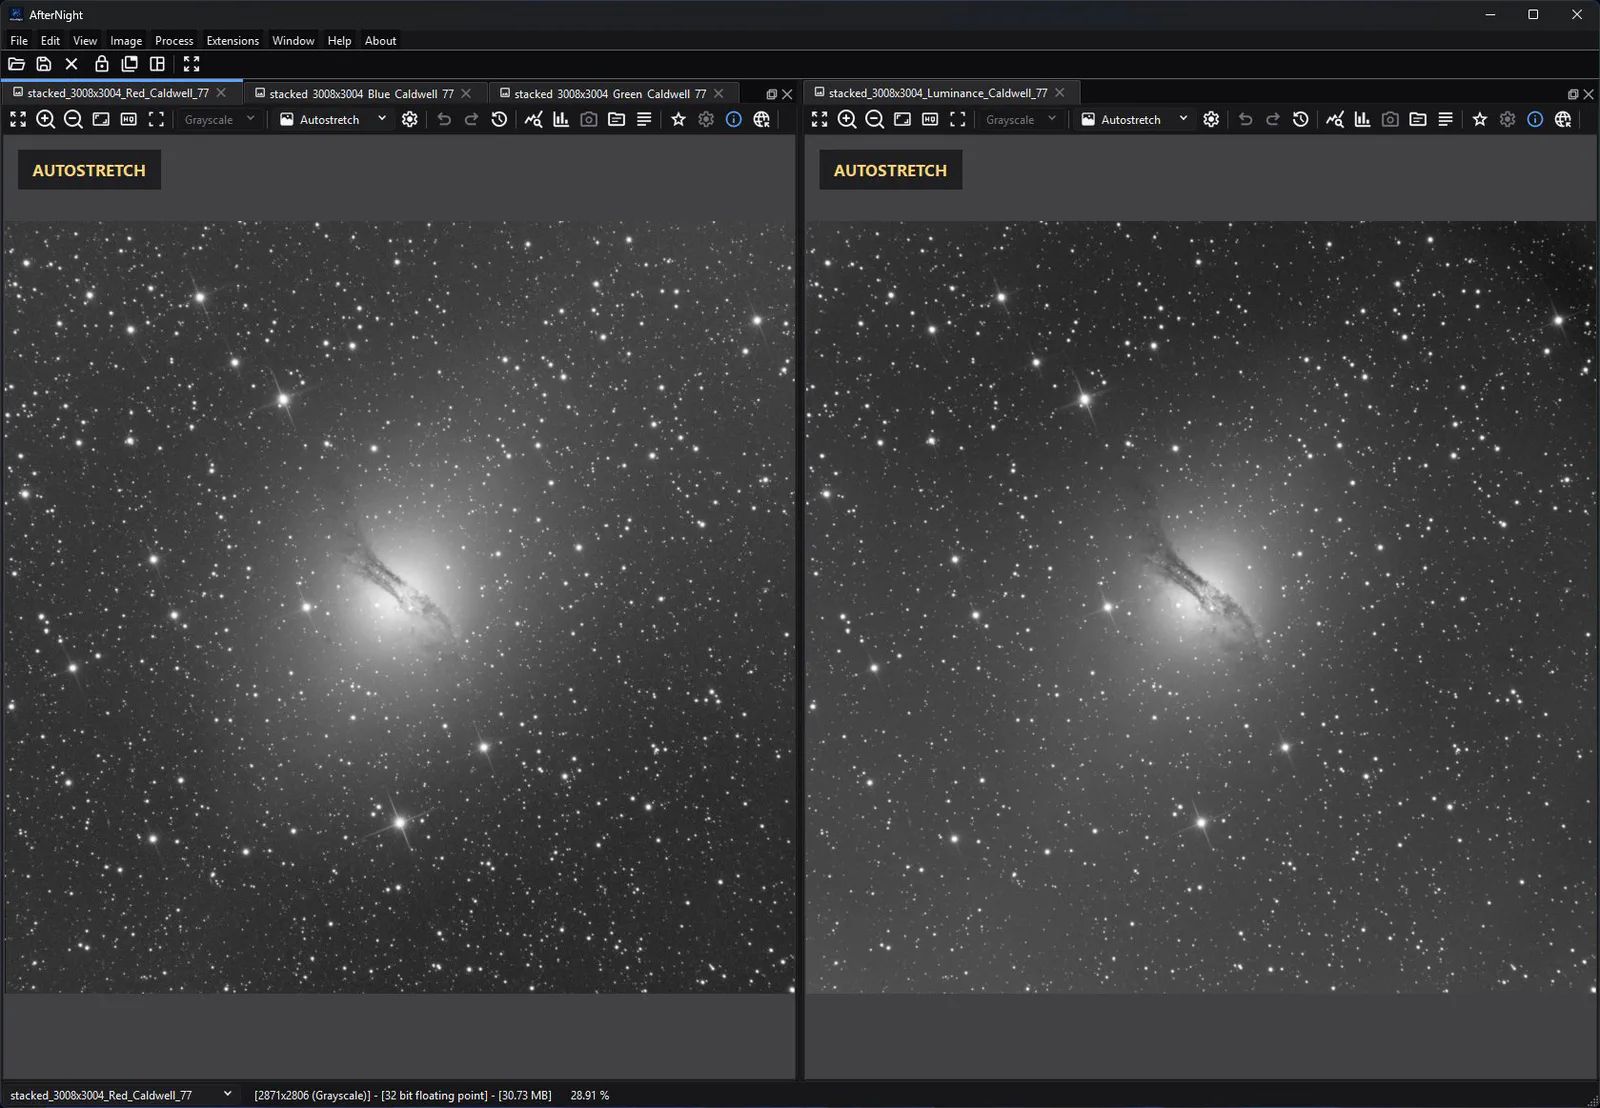
Compare views side by side
Dock two views next to each other to compare channels or masters. Each view has its own toolbar for the channel it shows and its display stretch.
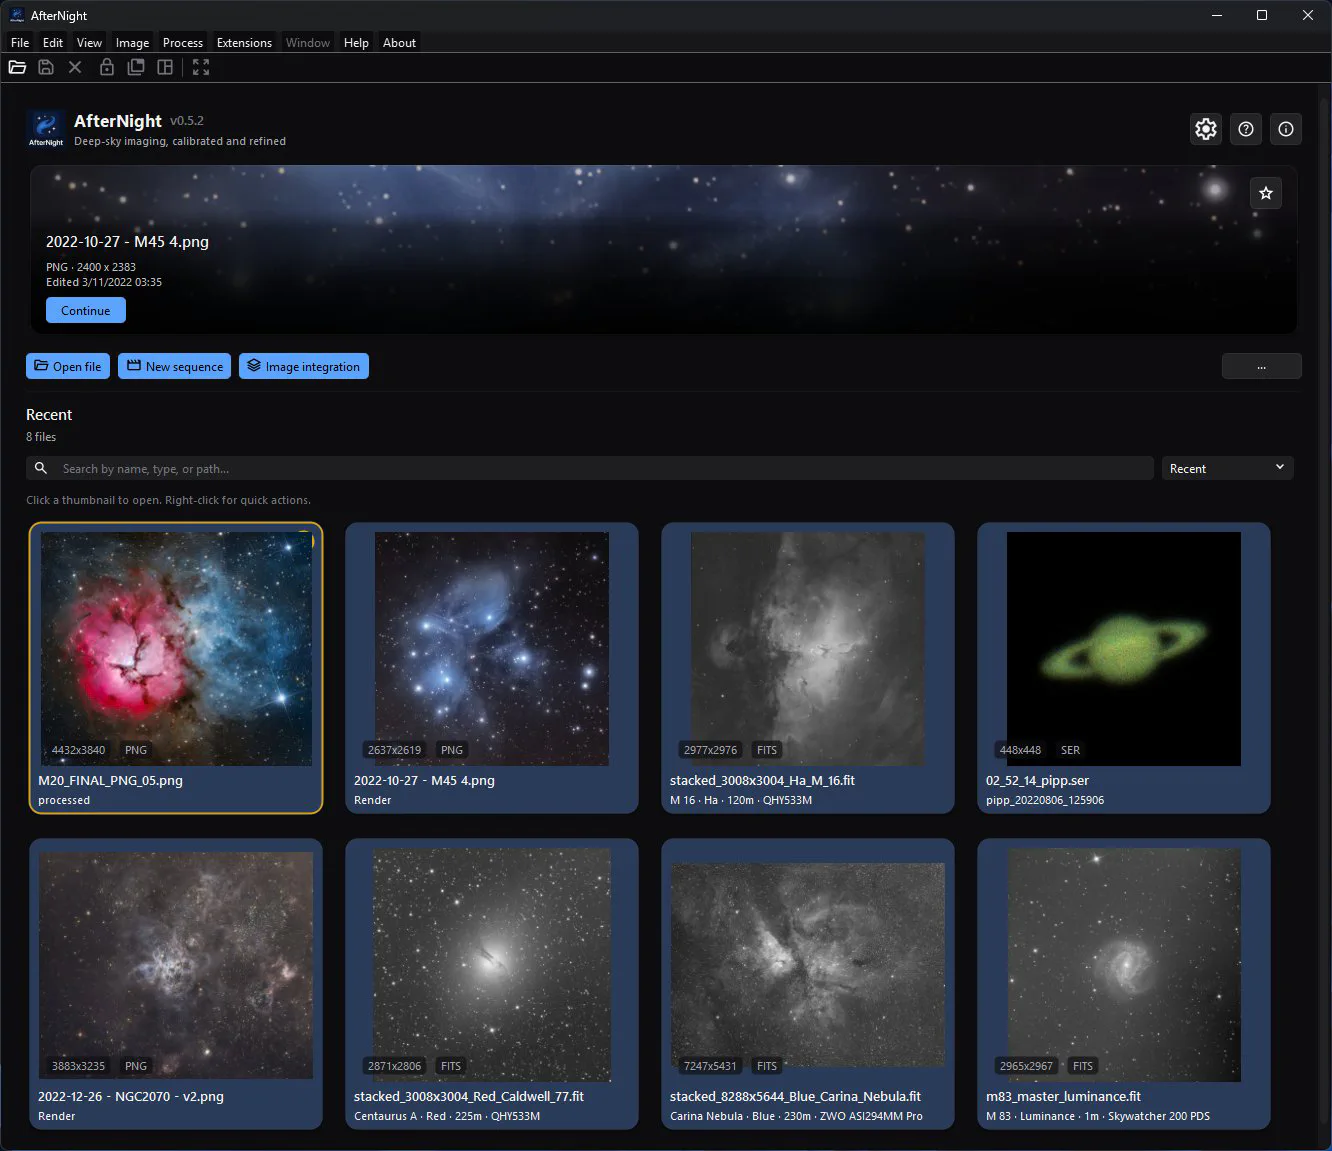
Pick up where you left off
The dashboard opens images and sequences, lists recent work with thumbnails, and starts common workflows from six quick actions you can change.
Dashboard →Look before you change anything
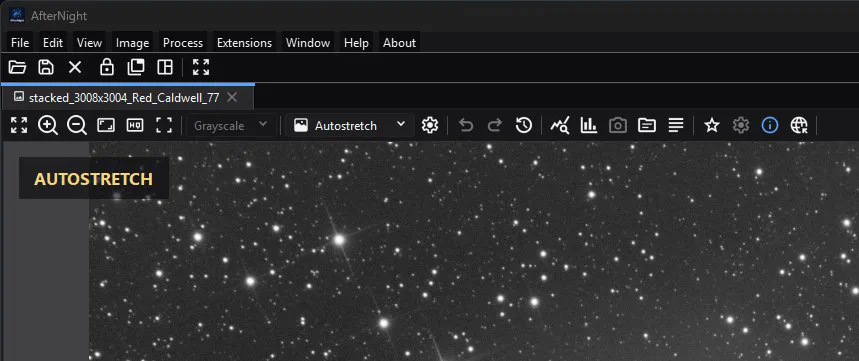
The display is not the data
Linear or Autostretch, the channel shown, zoom and overlays only change what you see. The stored pixels stay as they are until a process changes them.
Image viewer →The sample lens
Hold the left mouse button for a moment to open the lens, and move it to read the coordinates, channel values, a local histogram and the mask sample under the cursor.
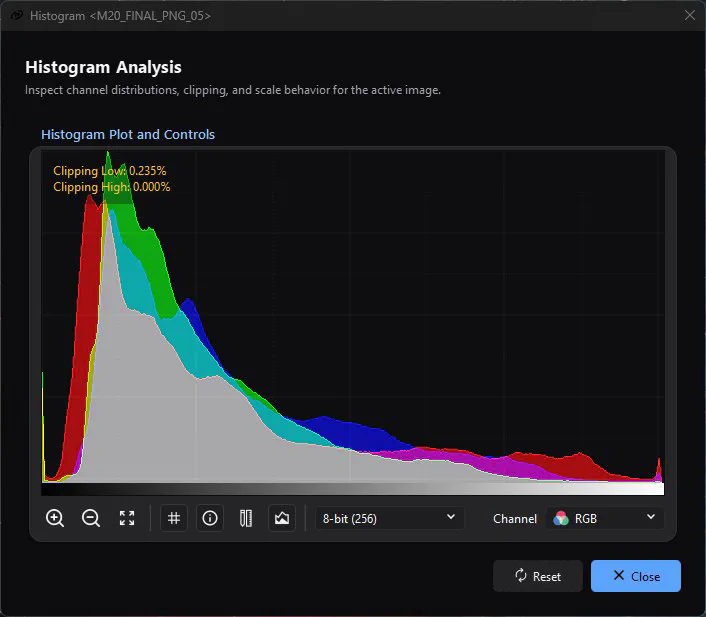
Histogram analysis
Each channel's distribution, with the share of samples clipped at either end.
Image histogram →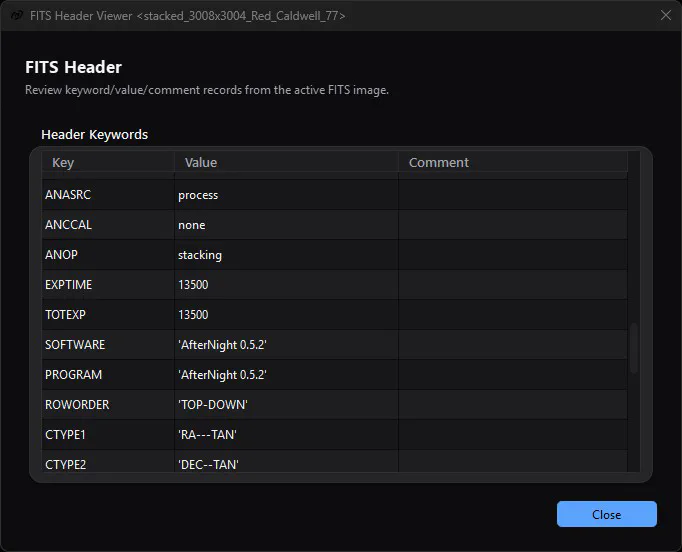
Headers and coordinates
Read-only viewers show the image's metadata, including the FITS header and the WCS keywords a plate solution writes into it.
FITS header viewer →Masters in, calibrated lights out
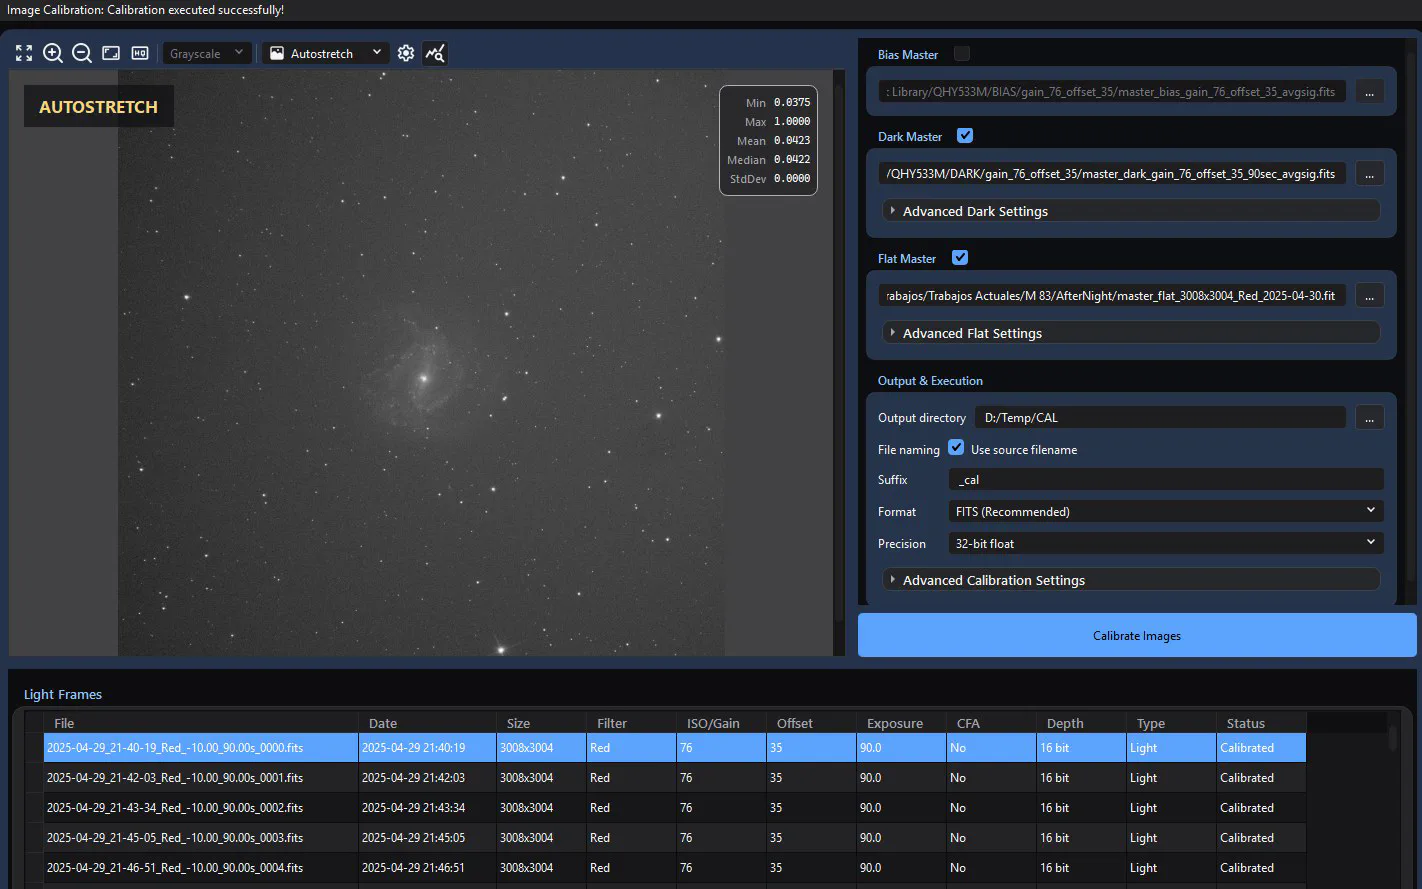
Image Calibration
Corrects linear light frames with prepared bias, dark and flat masters, and writes one calibrated file for every light. It can scale the dark, normalize the flat, replace deviant pixels found from the dark and add a pedestal.
Image Calibration →
Each master on its own
Bias, dark and flat are enabled one by one; the dark and the flat keep their advanced settings folded underneath. Output folder, naming, format and precision are set in the same window.
Every light accounted for
The list shows each light's date, filter, gain, offset, exposure and bit depth, and marks it Calibrated when its file is written.
Measured, aligned and solved
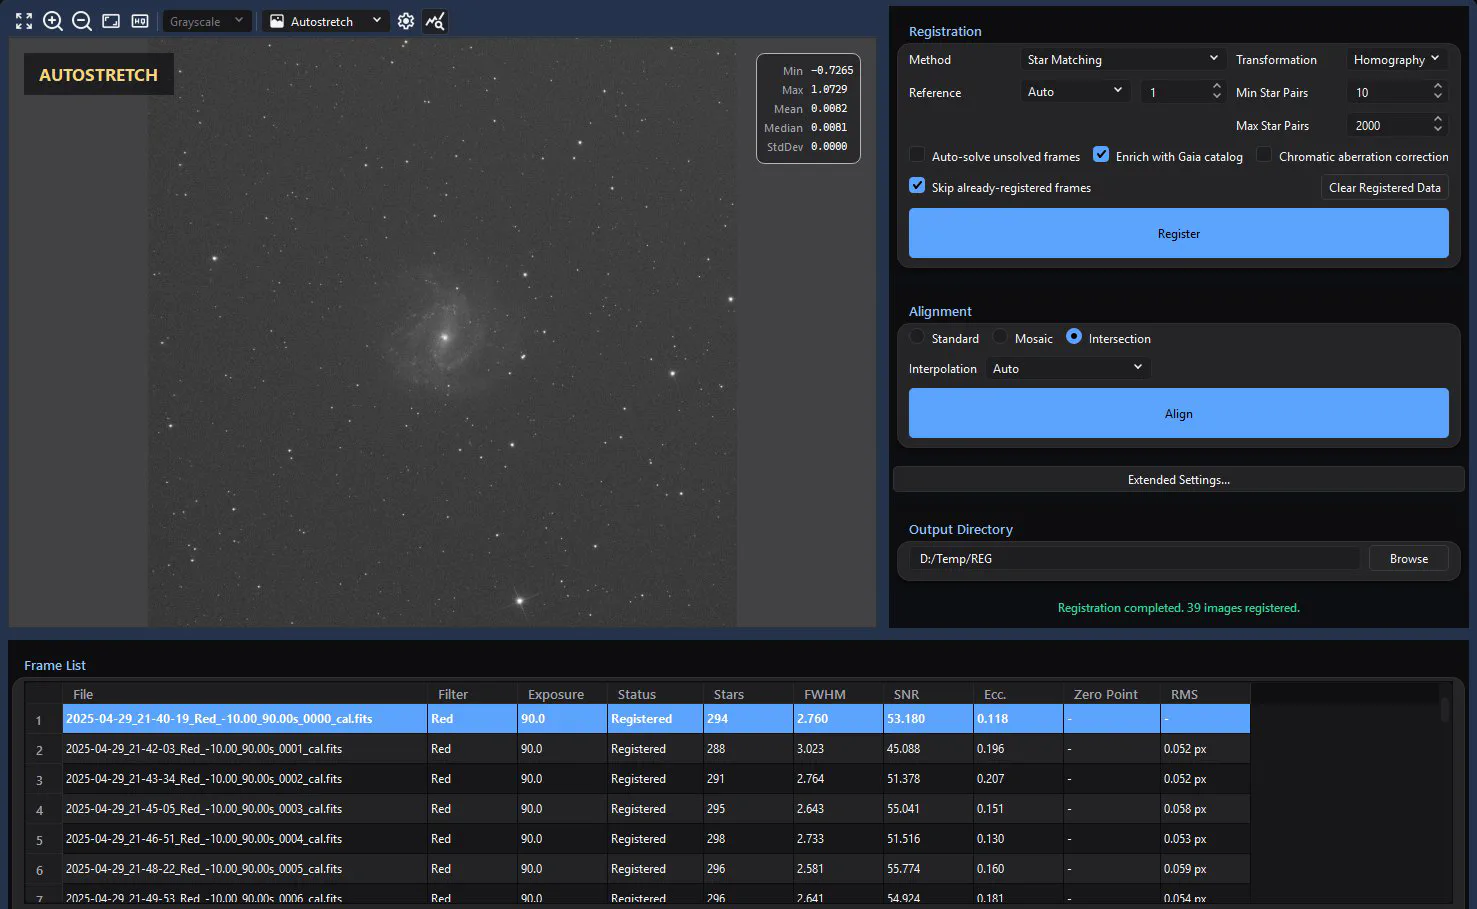
Image Registration
Measures the transform between frames and shows the metrics of each one, so you can choose the reference and the transform family and leave weak frames out before aligning them onto one geometry.
Image Registration →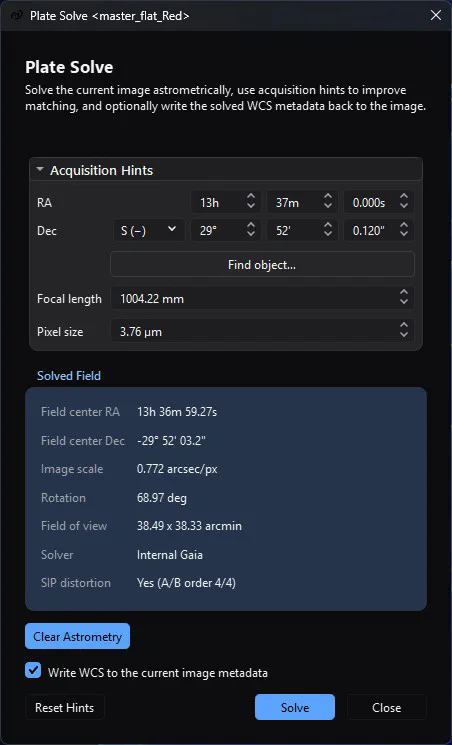
Plate solving
Solves the field with a local Gaia catalog, ASTAP, a local solve-field on Linux or the Astrometry.net web service. It reports the field centre, image scale, rotation and field of view, and can write the WCS into the image as a history step.
Plate Solving →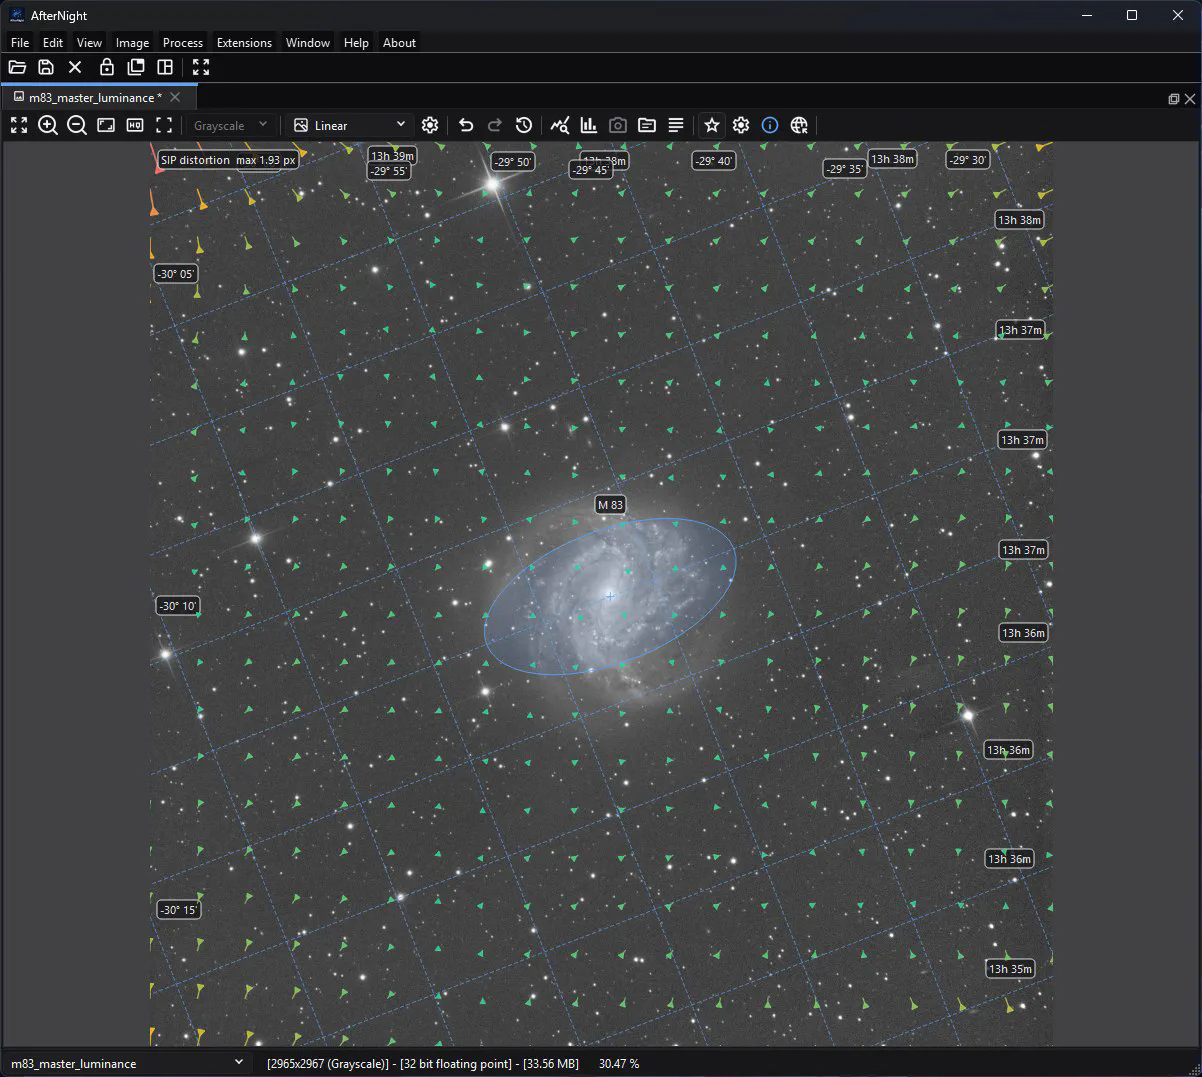
See the solution
Overlays draw the coordinate grid, catalog objects, bright-star names, detected stars and SIP distortion vectors over the image, without changing its pixels.
Astrometry overlays →One project for every stage
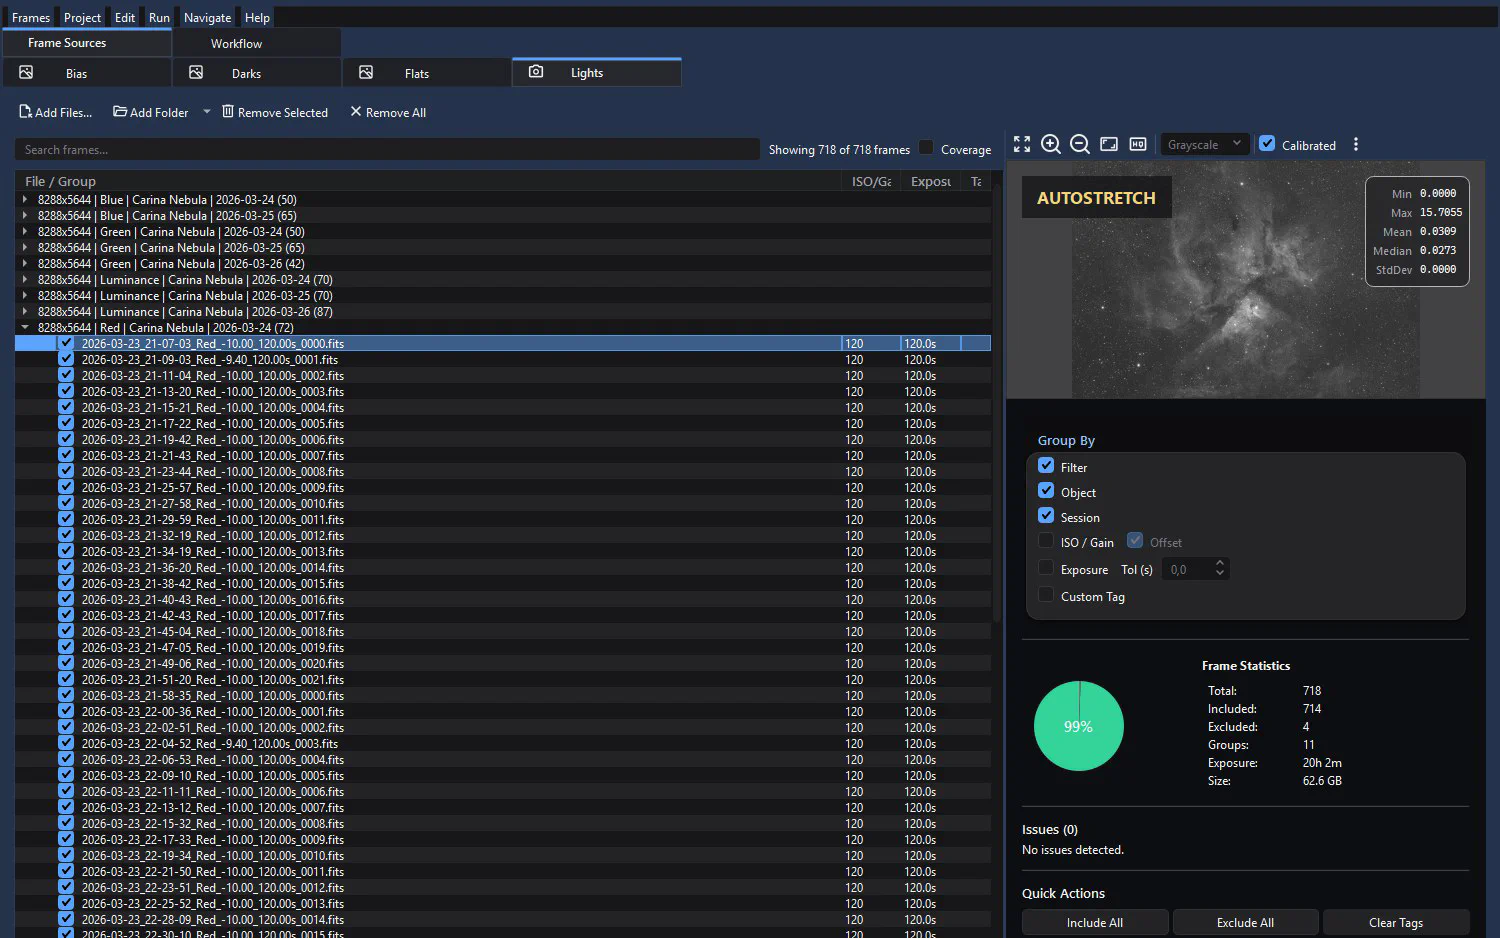
Image Integration
One project takes still frames through calibration, registration, alignment, normalization and stacking to linear masters, with a shared frame inventory, consistent grouping, incremental reruns and a report.
Image Integration →
Know what goes in
Before anything runs, the frame statistics count the frames, what is included and excluded, the groups, the total exposure and the size of the data.
Ready to execute
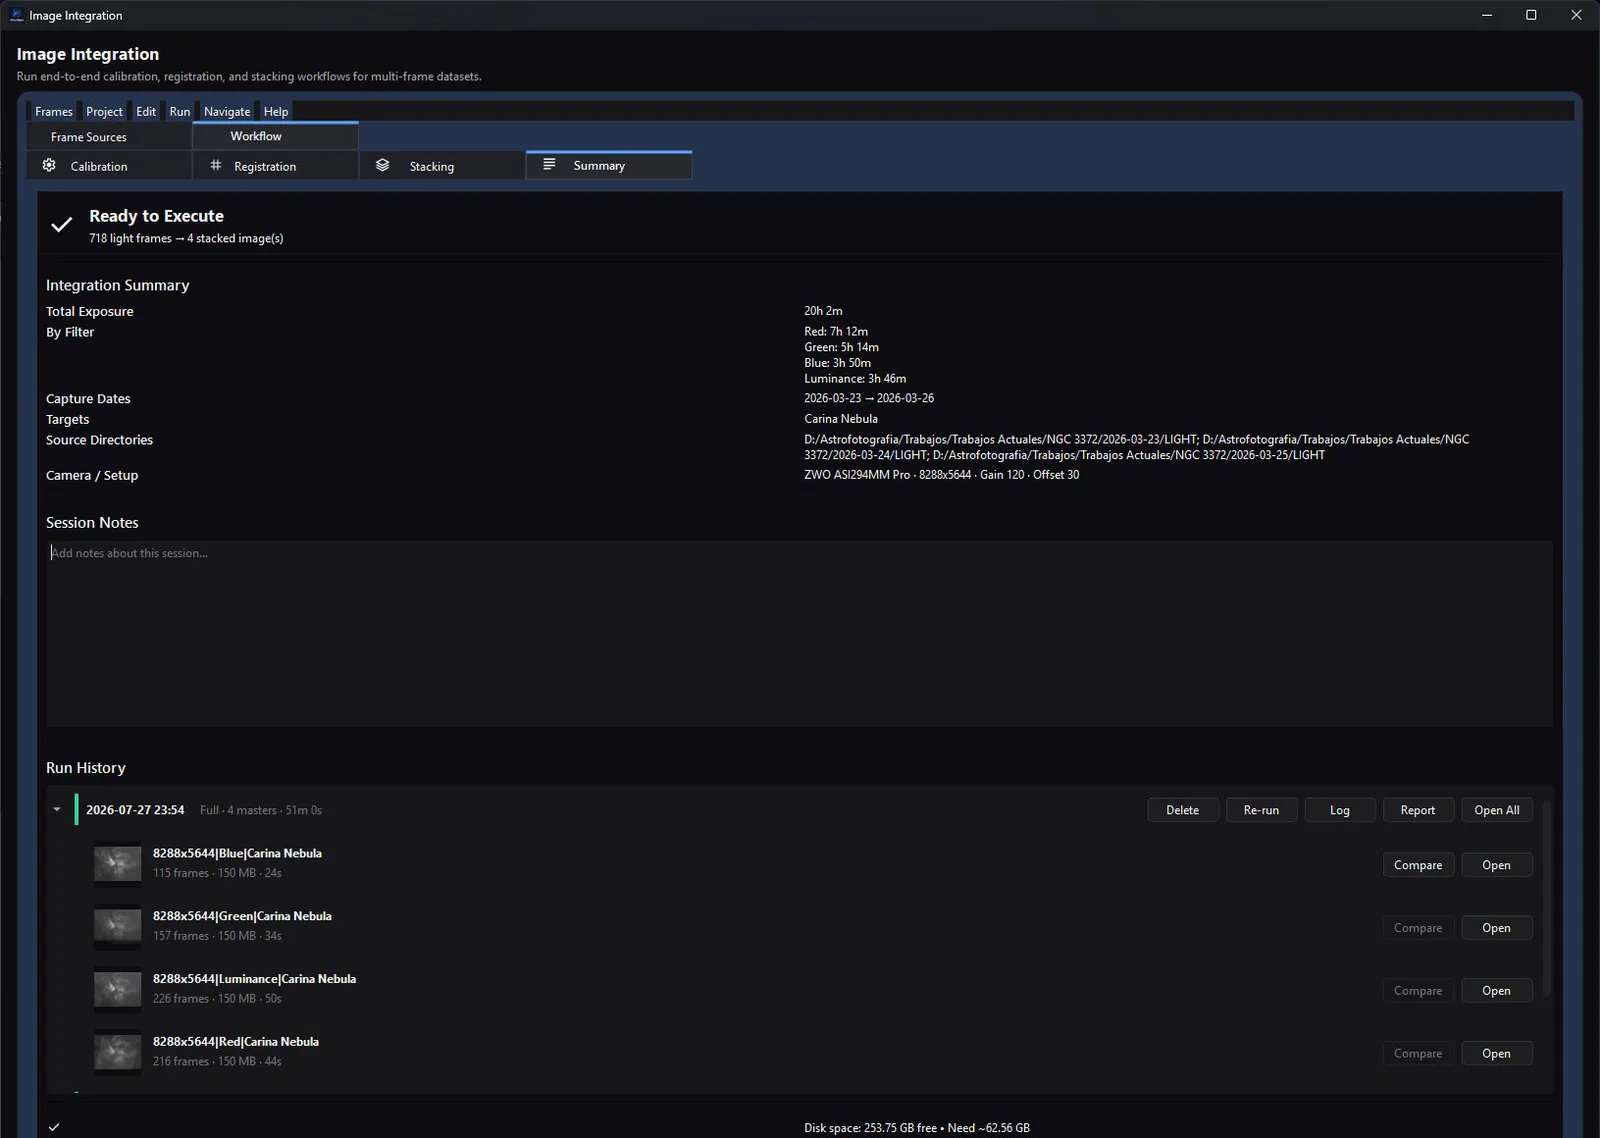
The summary lists the exposure per filter, capture dates, targets and camera. The run history keeps each stacked master, ready to open or compare.
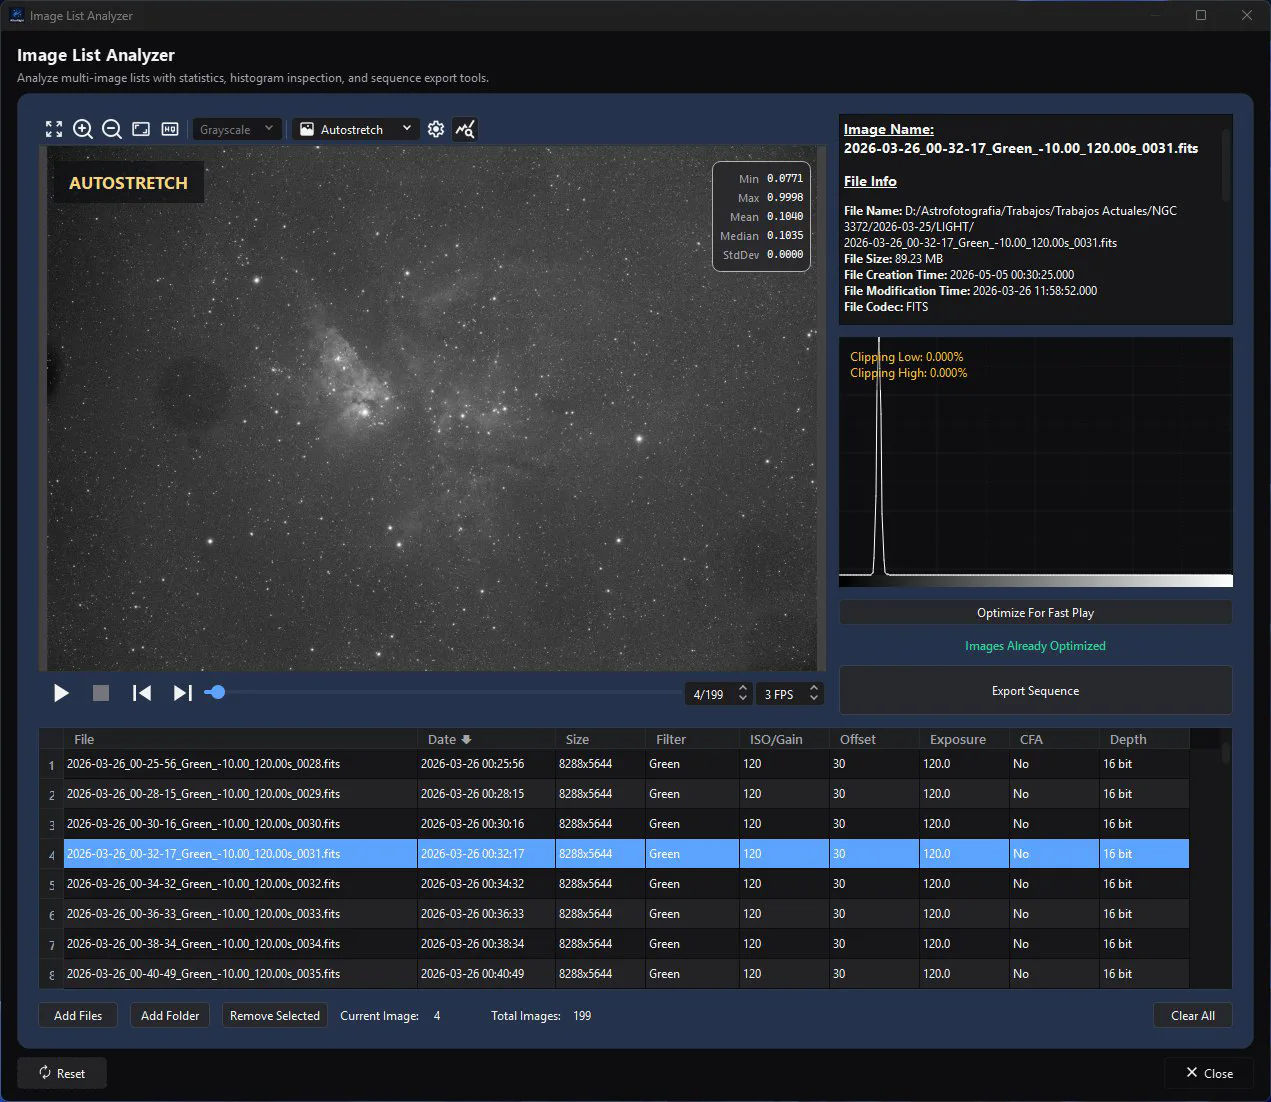
Look at every sub
Image List Analyzer reads a list of subs into a sortable table, previews them one at a time with a histogram and the file's metadata, and exports the list as SER, AVI, MP4 or WebM.
Image List Analyzer →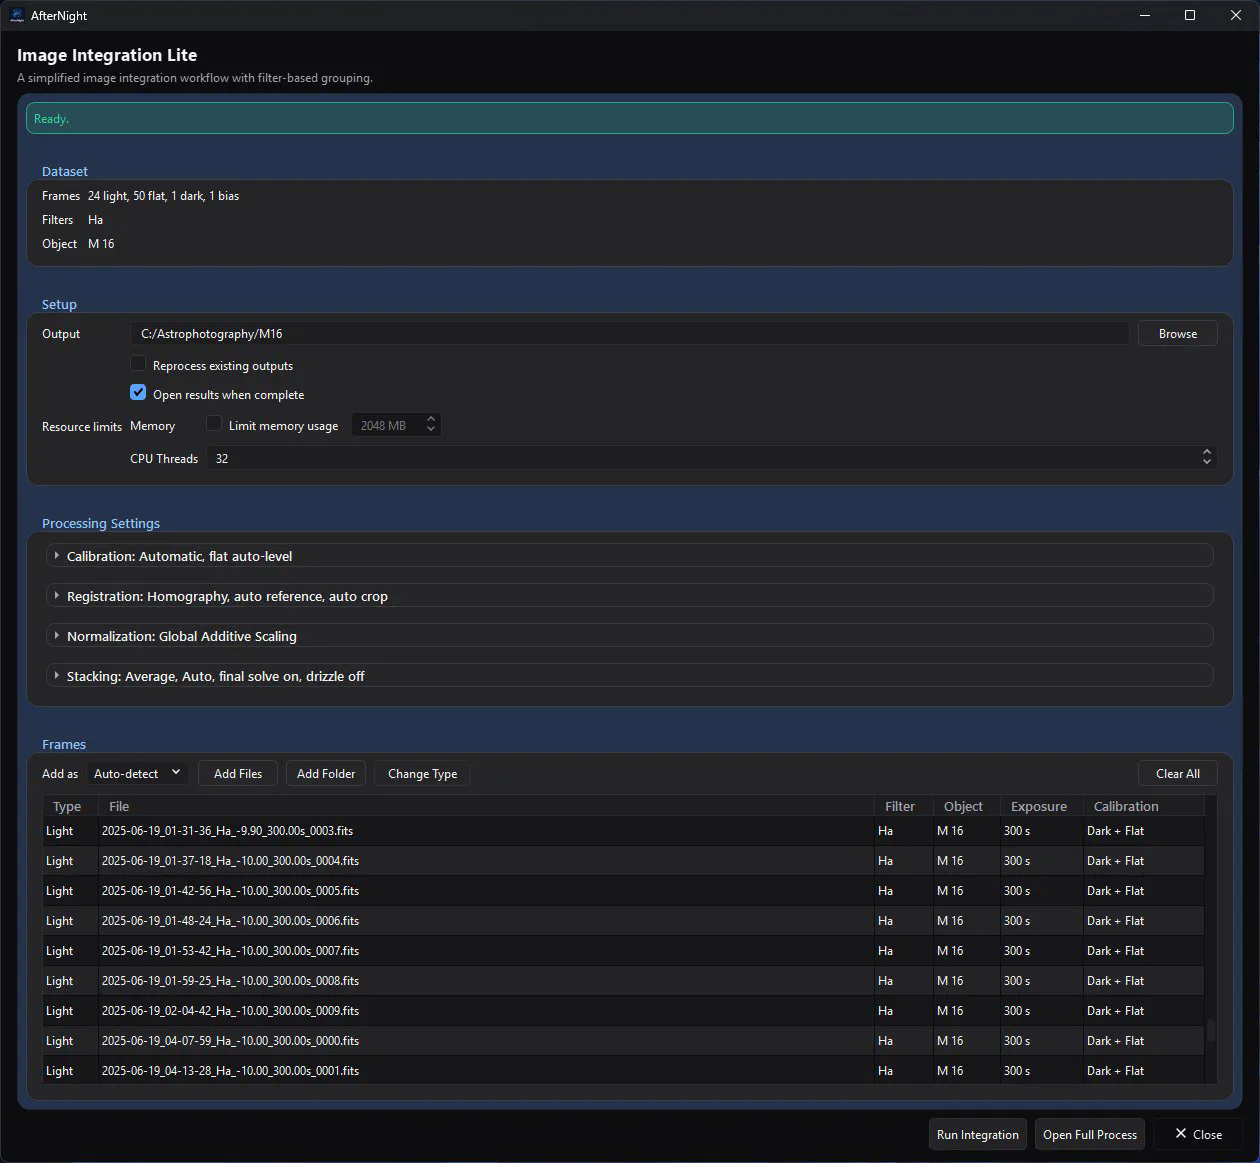
Or the short way
Image Integration Lite turns one simple, single-target set into one stacked master per filter and object group. It shows the common decisions in one window and hands the work to the full Image Integration.
Image Integration Lite →Preview, then apply
Process windows
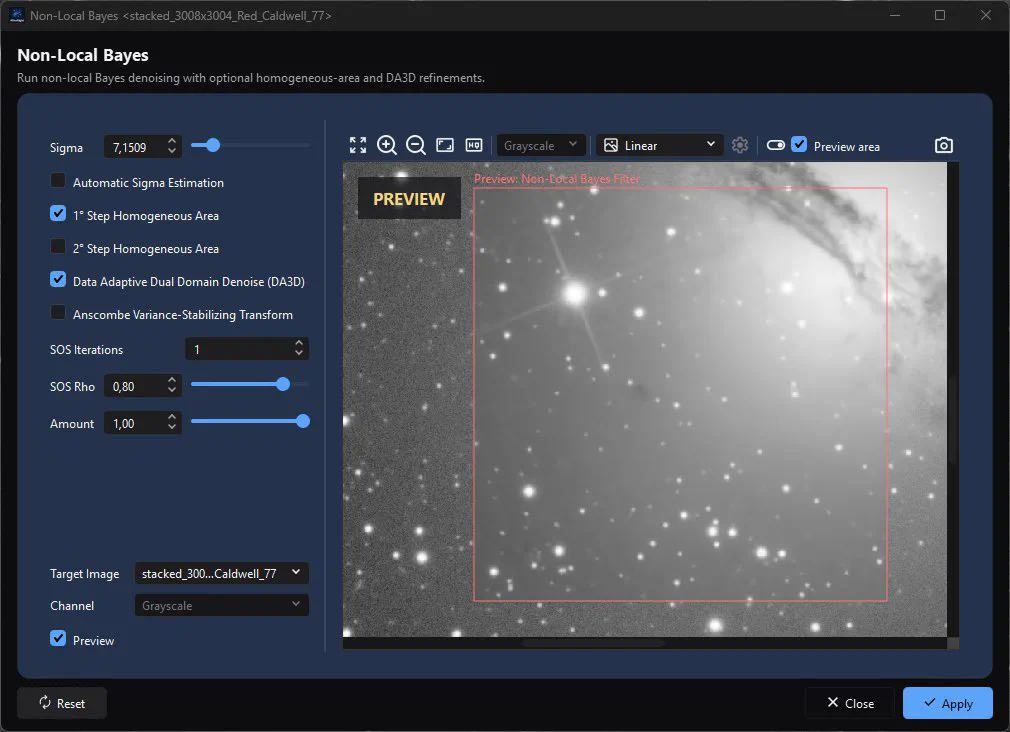
Most process windows preview their result on the image while you change a parameter. Nothing is committed until you press Apply, and Reset returns the controls to their defaults.
Process windows →
Preview a region
A preview area limits the preview to the part of the image you choose, so a heavy process answers sooner. Apply still processes the whole image.
Finished in AfterNight
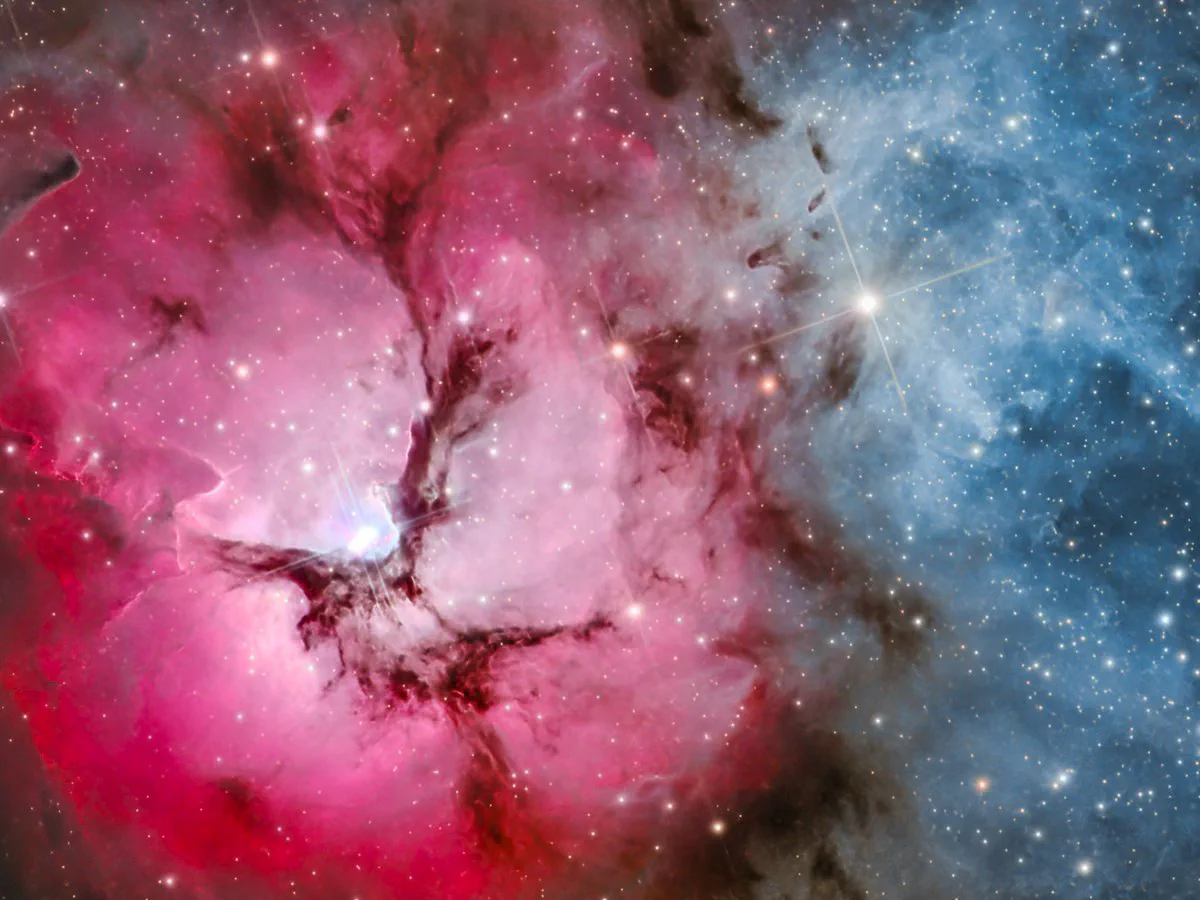
M20, the Trifid Nebula, by Ezequiel Ruiz: stacked and finished in AfterNight.
The gallery →Every step kept
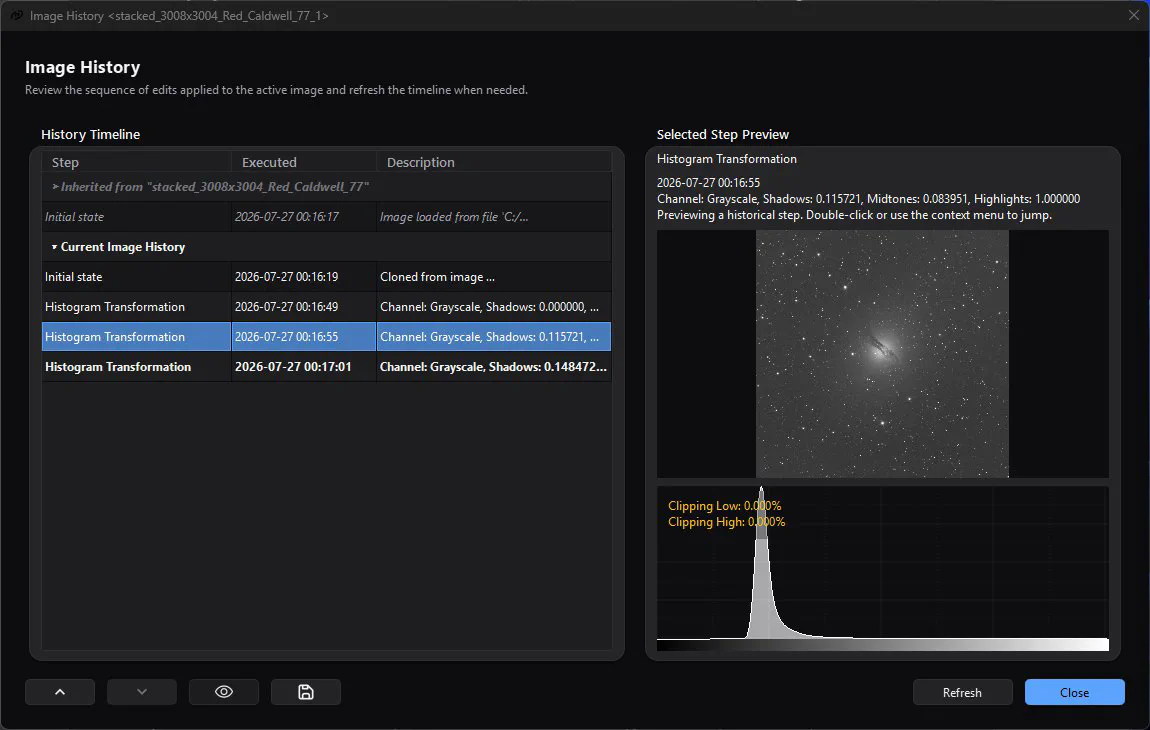
Image History
Each applied step is kept with its time and description. Restore an earlier state, clone it into a new view, or export the record as text.
Image History →
Look back before you go back
Selecting a step previews it, with its own histogram, before you jump to it.
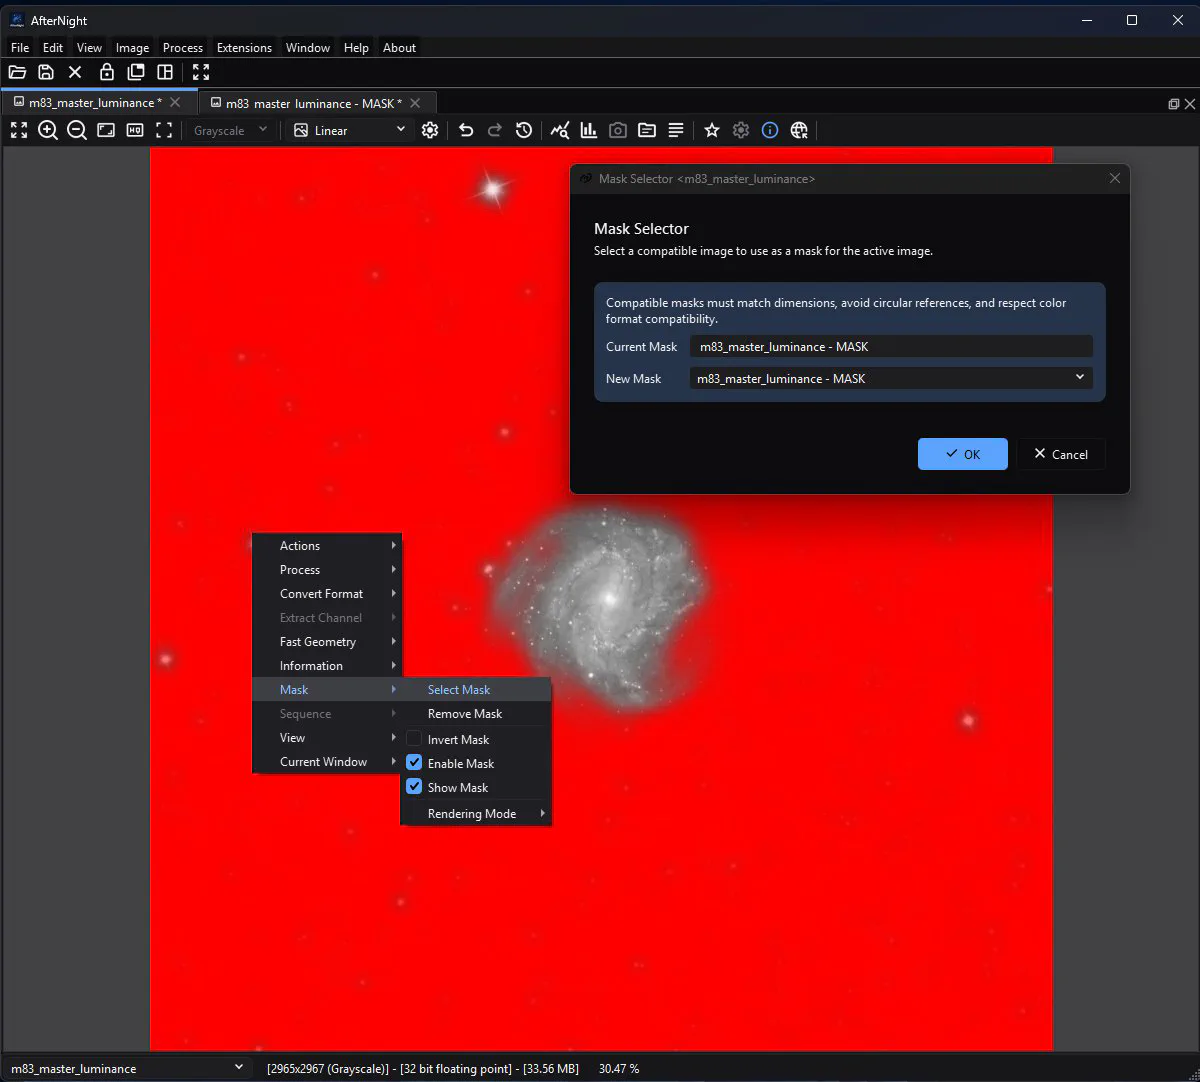
Masks
A mask links the image to another open view: white admits the processed result, black keeps the original, grey blends the two. It can be shown without being enabled, or enabled without being shown.
Masks →Planetary captures, frame by frame
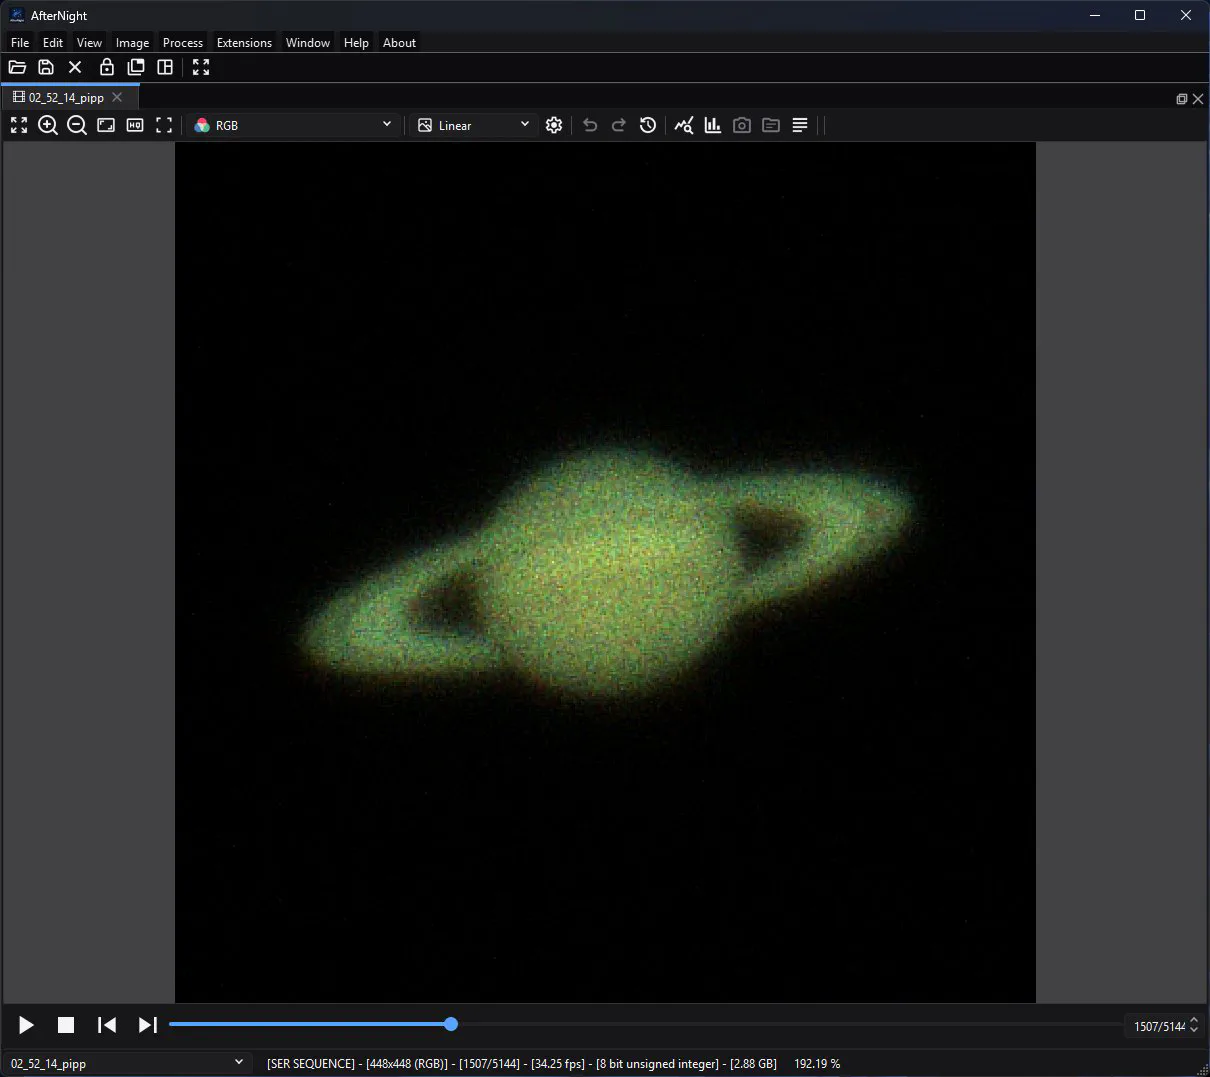
Sequences
SER and video captures open as one docked view you can play, step through, extract a frame or a range from, or convert to another sequence type.
Sequences →Seventy-plus processes, each one explained
The tour follows the path most nights take. The full list goes family by family, says what each process does in the user guide's words, and shows what it supports: a live preview, masks, sequences, or a catalog or tool it needs.
Open the process atlasBatch it from a script.
The command-line tool ships beside the application on both platforms. It reads one image, applies the display stretch and writes the result with an explicit output intent; --help lists its options and exit codes.
AfterNightCLI [options] <input> <output>FITS, XISF, camera RAW and more.
FITS, XISF, camera RAW, TIFF, PNG and JPEG for images; SER and FFmpeg-backed AVI for sequences. The user guide's file-formats page is the authority on precision, compression and metadata per format.